Have you ever stared at a blank white wall and thought, “What if this was a masterpiece?” Mural painting might seem like a giant task, but with the right tools and Pelaka Mural Paint, anyone can turn a plain surface into a portal of imagination.
Step 1: Concept & & Finding Inspiration
Before you touch the wall, you need a plan. Inspiration can strike anywhere:
- Online Inspiration: Search online to gather ideas and information—from minimalist geometric patterns to vibrant street art.
- Step Outdoors: Take a walk! Look at nature’s color palettes, urban architecture, or existing murals in your local neighborhood to see what resonates with you.
- Sketch Down Your Ideas: Don’t just keep it in your head. Draw a rough sketch or create a mood board to visualize how the colors and shapes will fit your space.
- Measure Up: Once your vision is set, measure the height and width of your wall to estimate how much Pelaka paint you’ll need.
Step 2: Gather Your “Arsenal”
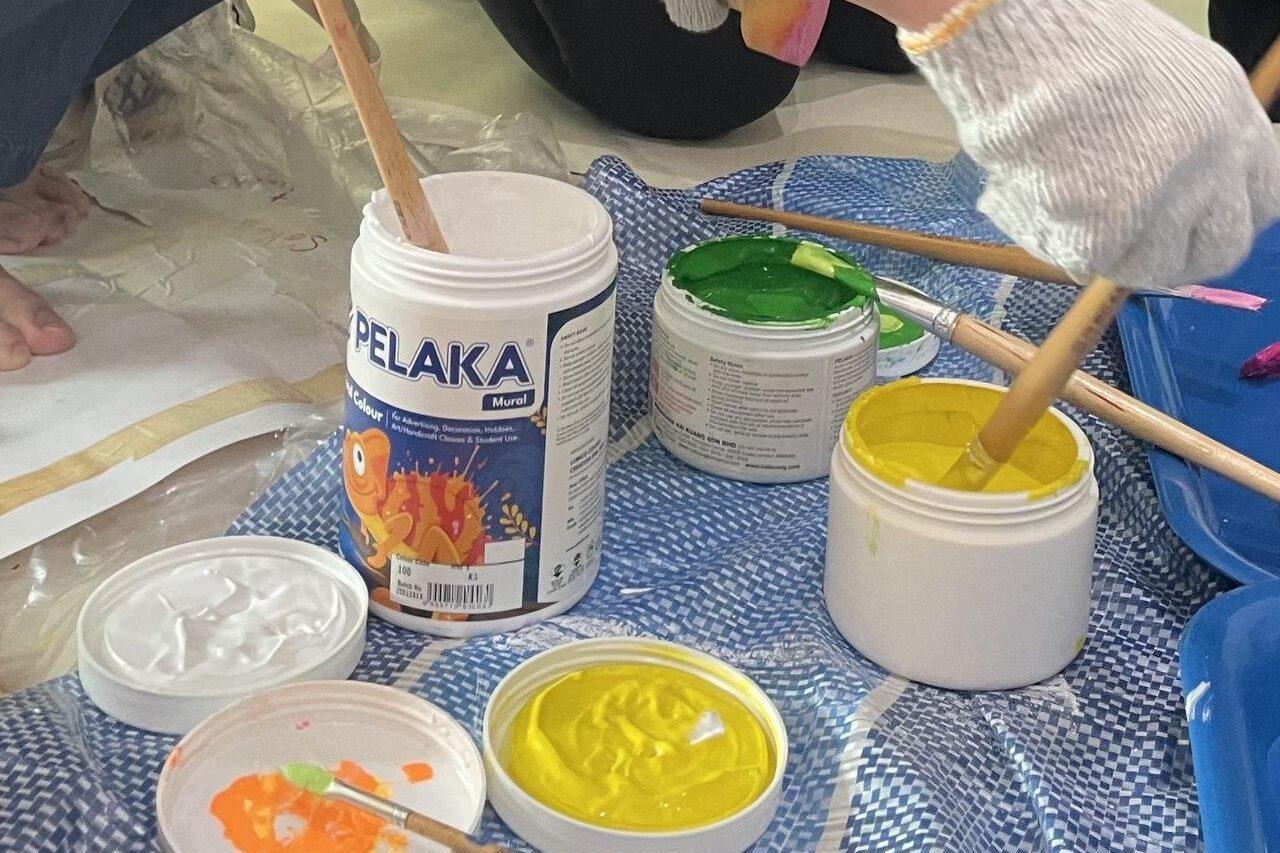
To paint like a pro, you need the right kit:
- Pelaka Mural Paint: Your star performer—known for high opacity and vivid colors.
- Wall Sealer/Primer: To ensure the paint sticks and lasts for years.
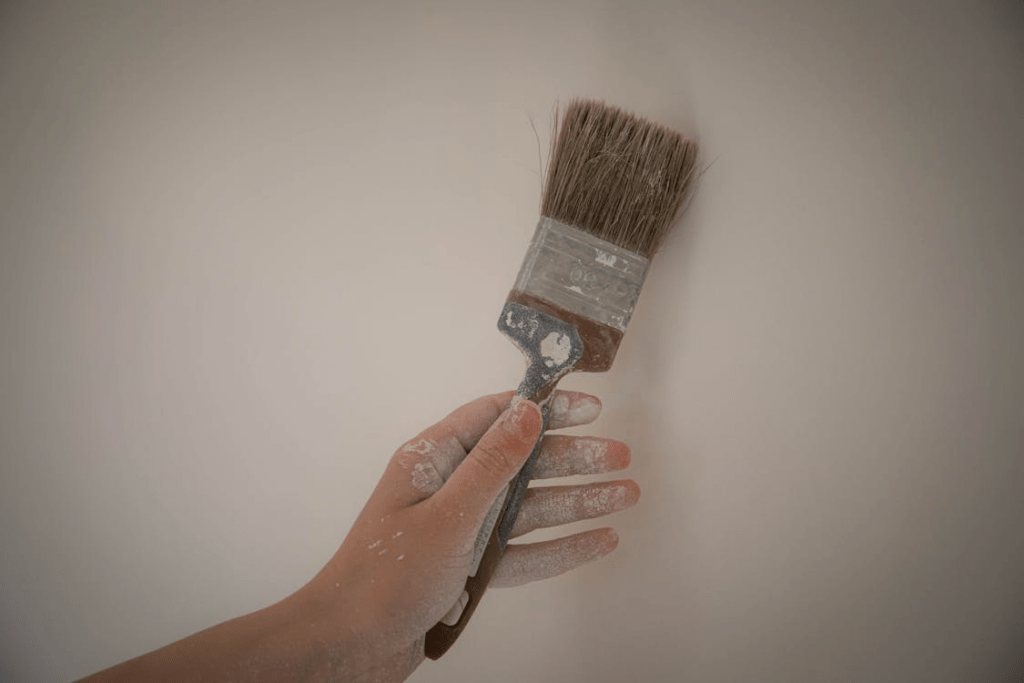
- The Brush Set: Rollers for large areas, flat brushes for shapes, and fine liners for details.
- Masking Tape: To protect your floor, ceiling, and switches.
Step 3: Surface Preparation
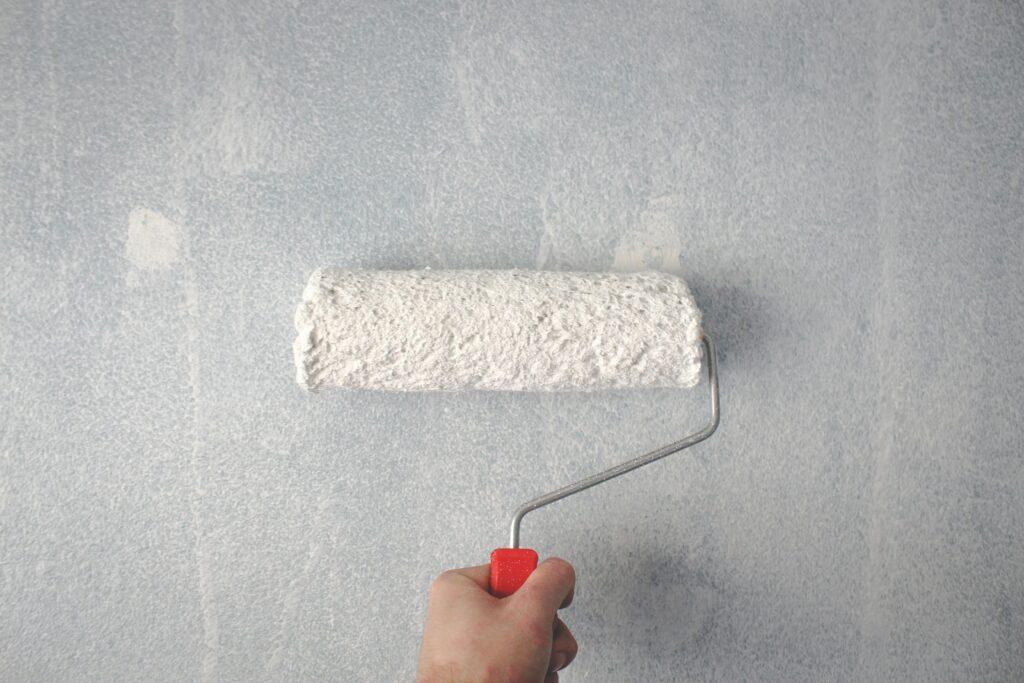
This is the secret to a long-lasting mural.
- Clean it: Wipe away dust and grease with a damp cloth.
- Seal it: Apply a coat of sealer. This prevents the wall from “soaking up” too much paint and makes Pelaka’s colors pop.
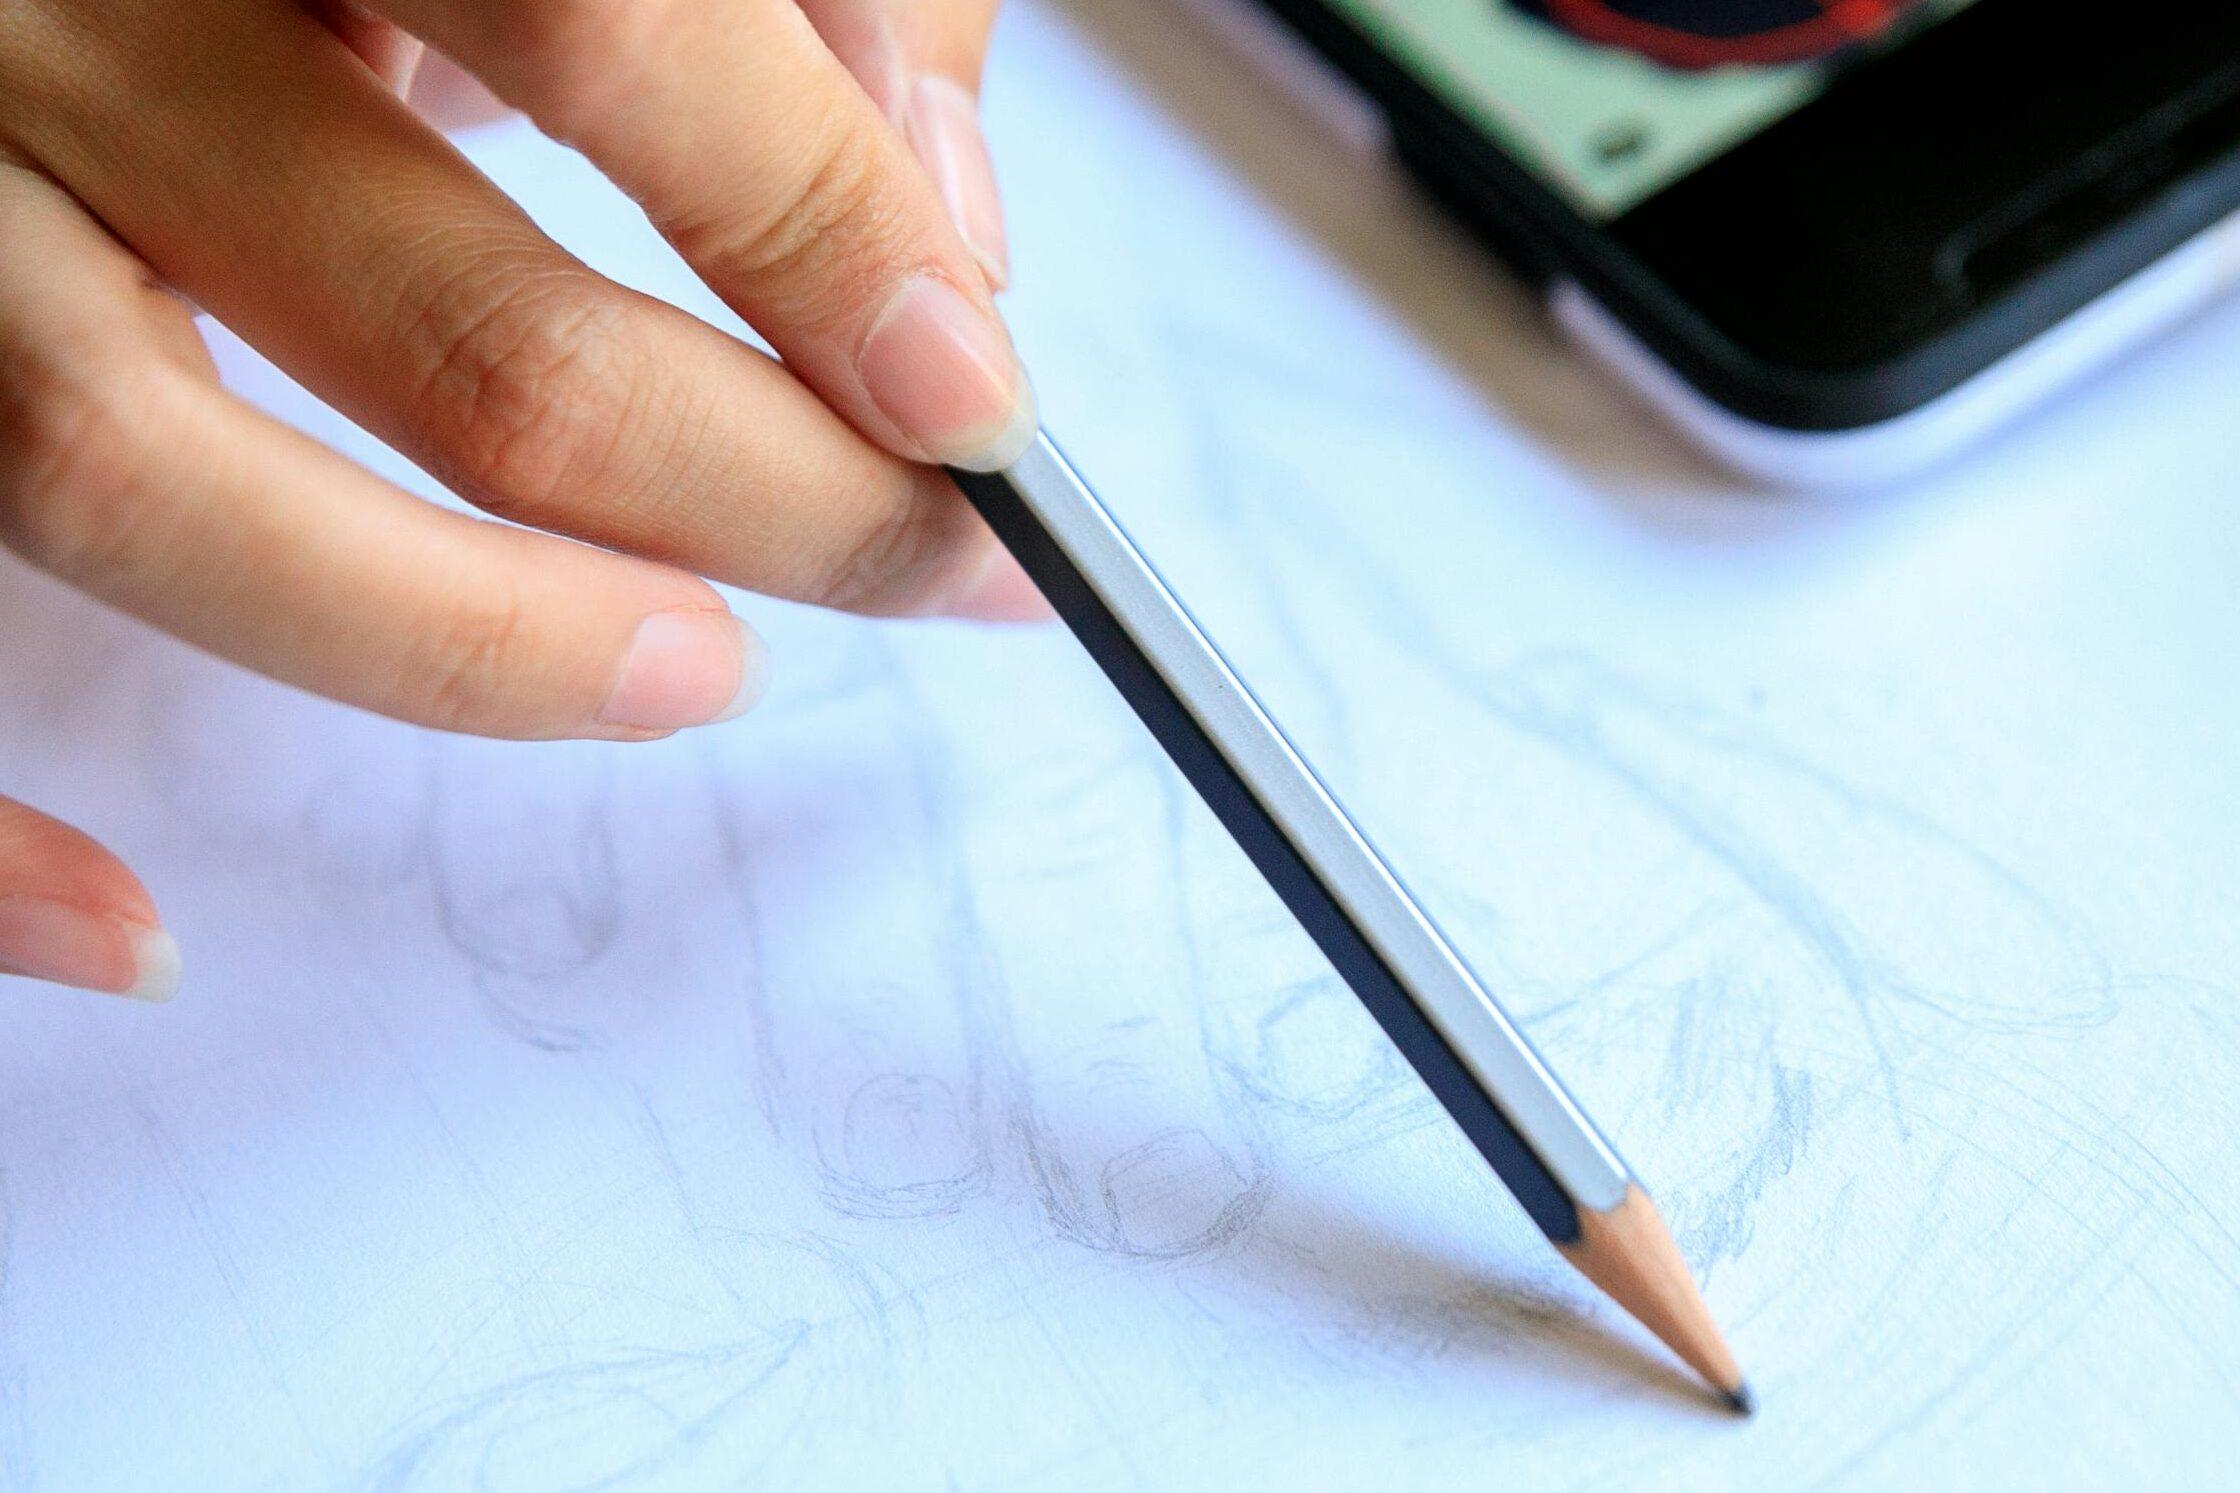
Step 4: The Sketch
Don’t wing it! Use these methods to keep your proportions right:
- The Grid Method: Draw a small grid on your sketch and a matching large one on the wall.
- Chalk Outlining: Use chalk to sketch your design; it’s easier to wipe off than pencil if you make a mistake.
- Monochromatic Paint Sketch: Alternatively, use a single light color of Pelaka paint to paint your outline. This helps the sketch blend seamlessly into your final masterpiece.
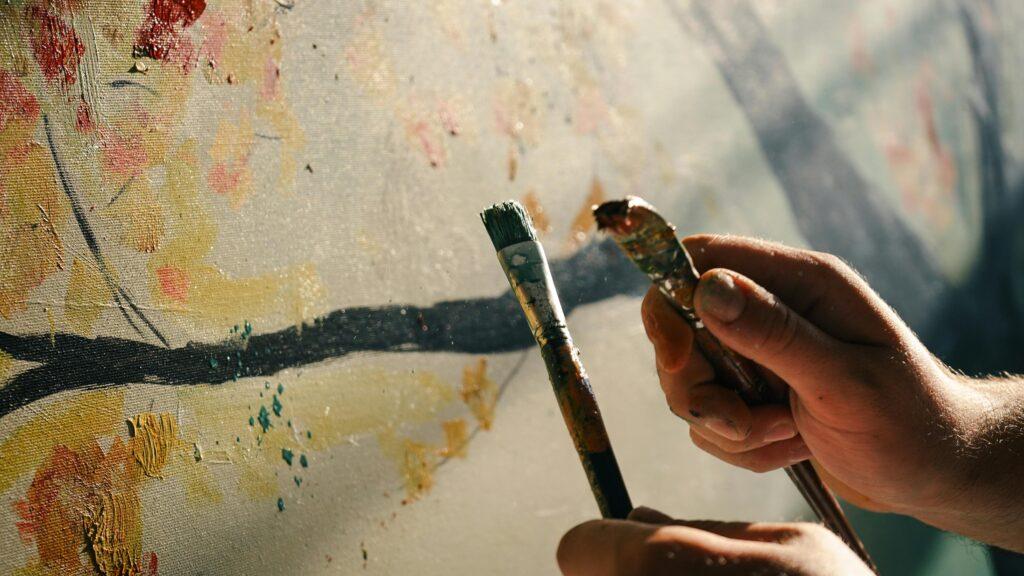
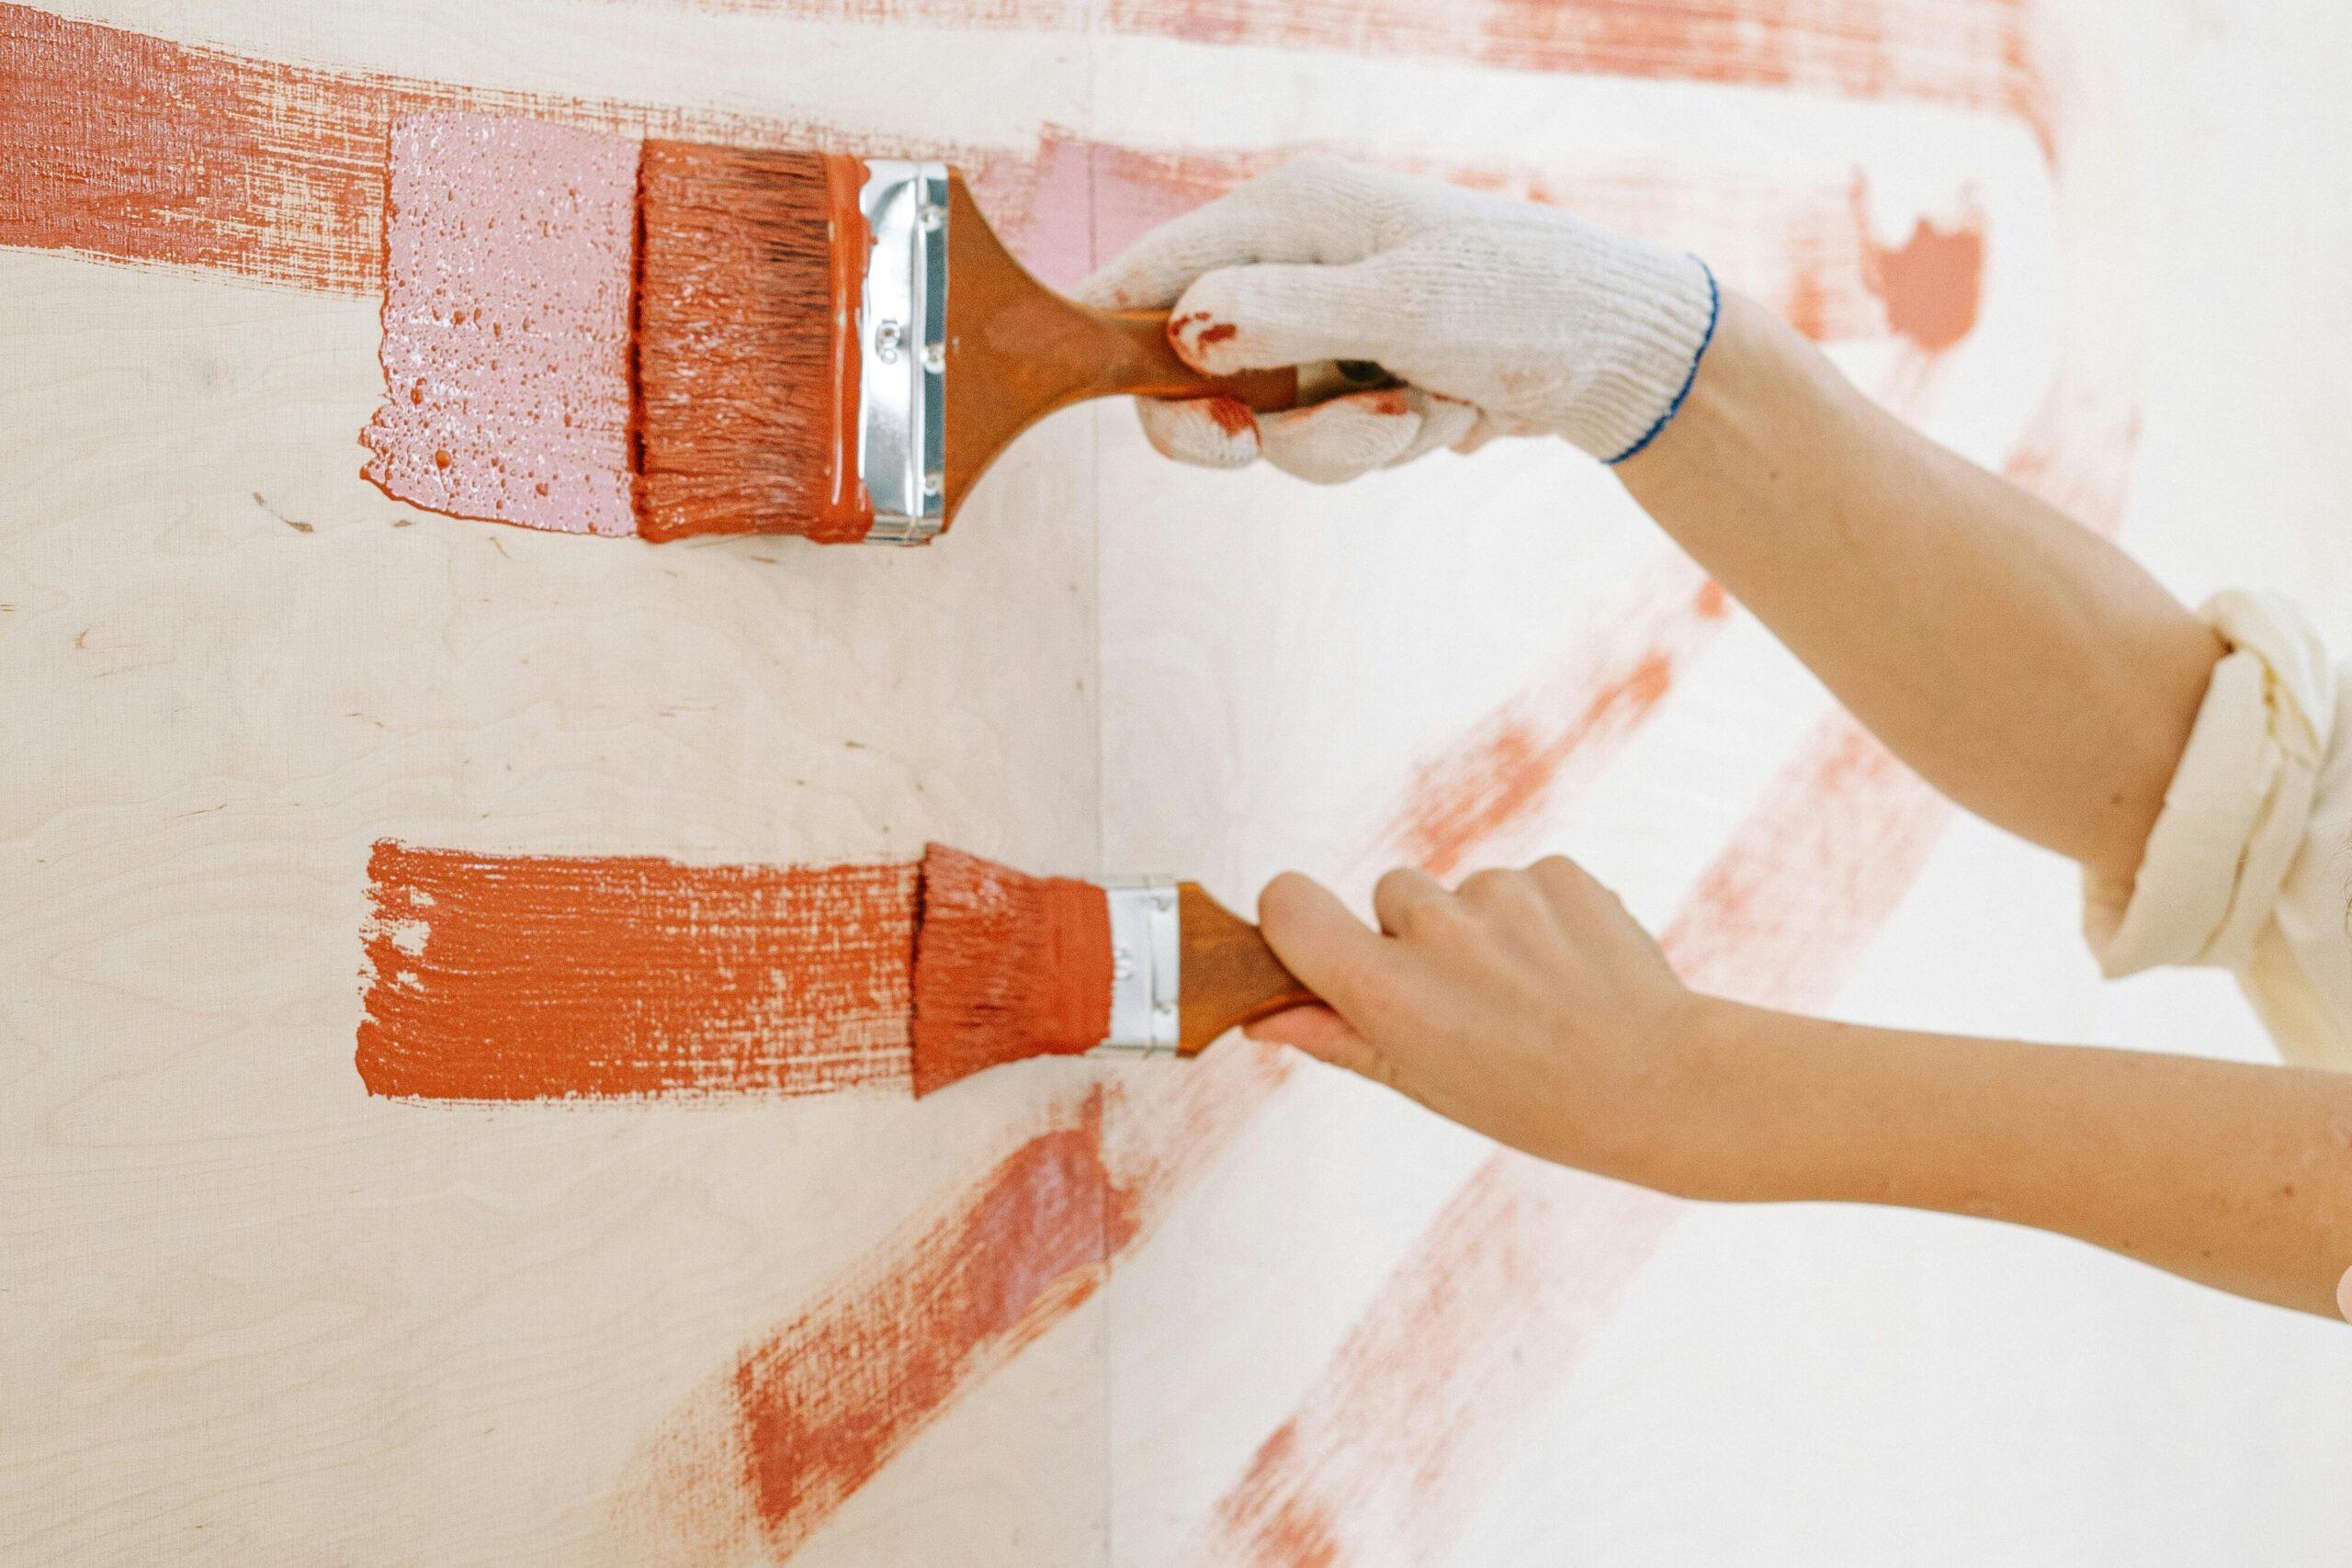
Step 5: Painting Time!

Now, let your creativity flow.
- Top to Bottom: Start from the top of the wall to prevent drips from ruining finished areas.
- Background First: Fill in large blocks of color before moving to fine details.
- Pelaka Tip: Pelaka dries quickly. If you want to blend colors, work fast or keep your brush slightly damp.
Step 6: Protect Your Art
Once dry (wait 24 hours), apply a Varnish. This protects your work from UV rays, dust, and moisture, keeping it “fantastic” for years.
Summary
Every masterpiece starts with a single stroke. Don’t be afraid to make mistakes—that’s the beauty of art! With Pelaka, you have the power to redefine your world, one wall at a time.